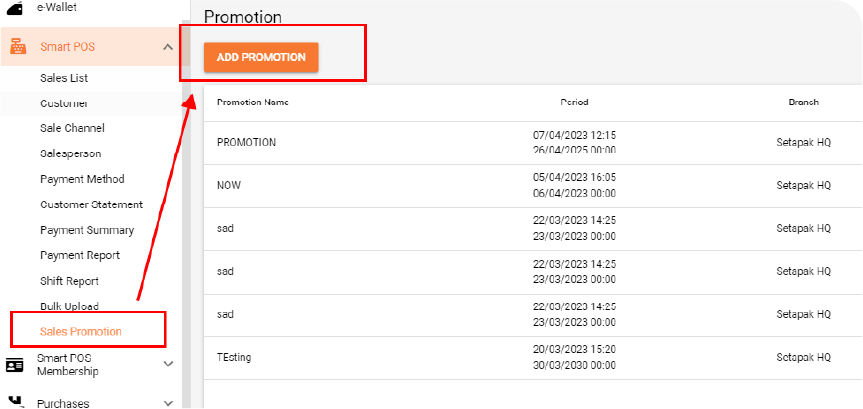
Crafting a sale promotion tailored to your branch is made easy. Navigate to Smart Pos > Sales Promotion > Click Add Promotion.
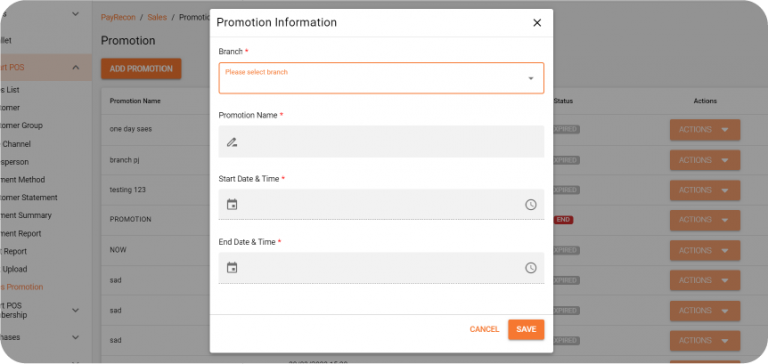
Step 2:
Begin by selecting the desired branch for which you want to design a special promotion. Fill in the name and the promotion’s date.
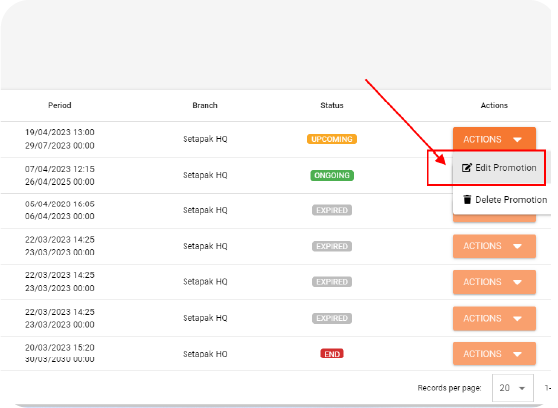
Step 3:
Once the promotion is created, proceed to edit it. This step involves selecting the products that will be part of the promotion.
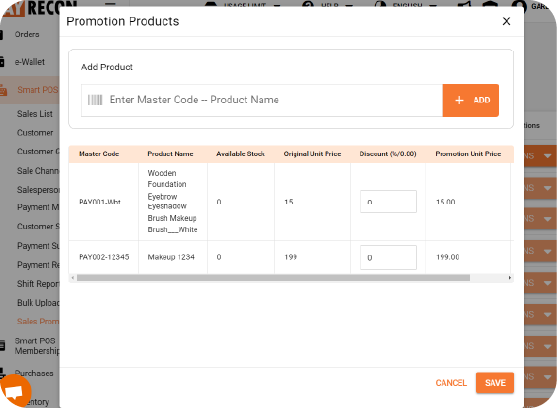
Step 4:
Add the relevant products and set the discounted price. For percentage-based deductions, include the “%” symbol. For amount-based deductions, directly input the number. Save the changes.
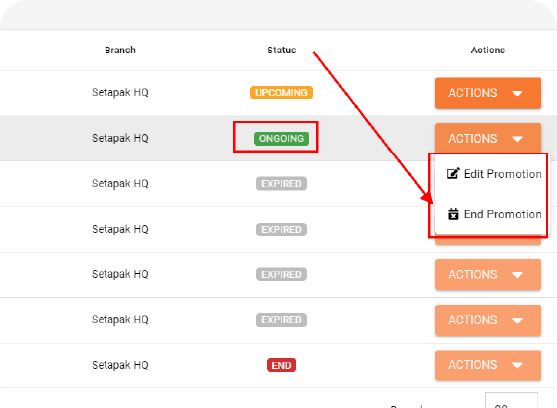
Step 5:
Enjoy the flexibility of always being able to edit or conclude your ongoing promotions as needed.